To ensure success in your home decorating we guide you through how to apply wall decals and answer other common questions we are often asked by customers.
Frequently Asked Questions

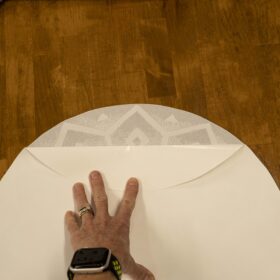
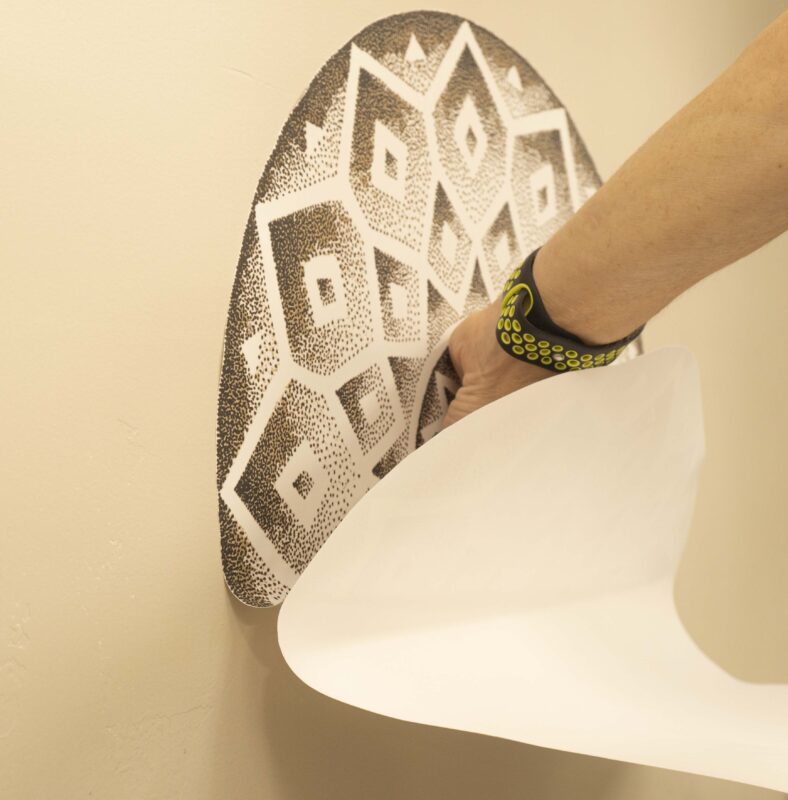
How to apply your wall decals? First peel about 2 inches of backing from the top of the piece. Carefully press the top portion of exposed adhesive to the wall to anchor it. Then, gradually unpeel the backing and apply the art to the wall by slowly rolling it out. Press from the center outwards as you unroll it to prevent bubbles and wrinkles forming.

Yes! The adhesive art can remain on a surface for years yet still be easily removed without damaging walls.
Yes, we highly recommend you wipe down the wall before you apply the art to remove dust. Even if you cannot see it there is usually some layer of dust on a wall.
Absolutely, we carefully selected the best adhesive fabric so it is easy to apply to a wall, reposition, and eventually remove without damage. Thus, if you need to reposition the wall art a couple of times, it will still stick to the wall. You may want to just lightly stick the wall art to the wall as you determine if it is straight or if you like its position on the wall. Then, once you are happy with its position you can firmly press it to the wall.
Most of our wall art are hand-drawn by our artists, photographed and then digitized into graphic art. We then print them onto adhesive paper for our wall decals or onto sturdy paper for our mounted prints. We offer various art formats to best meet your creative wall drawing ideas and decorating needs.
Our adhesive wall art is printed using a large format professional grade printer. The artwork is printed on adhesive-backed fabric paper that can both be re-positioned or removed without damaging wall surfaces. We have tried several different products and selected this removable adhesive fabric paper because it is the safest product for our customers’ walls.
